Thursday, December 30, 2010

Plastic Lid Organizer

Hi, I hope you're enjoying the holidays! And I'm sure there will be plenty of left overs for the days ahead. And once the plastic containers are emptied and cleaned, you'll need a place to store them! Well you're in luck, I'm going to show you how to make a simple lid organizer. 

Lids, lids, lids everywhere! Happens every time I open the cabinet door to get one.  (I really only wanted one!) But they fly out at you every time. So, I designed a lid organizer, hopefully it will work. The theory is simple, less lids occupying the same space equals less or no flying lids. That's the theory anyway...

Lets cut some wood...

I'm using half inch cabinet grade plywood for the bottom and back, the dividers and sides will be quarter inch plywood.  I cut the 1/4 x 1/2 dados (channel cut across the grain) all at the same time, so everything is evenly spaced.


 Here are the blanks for the dividers and sides...


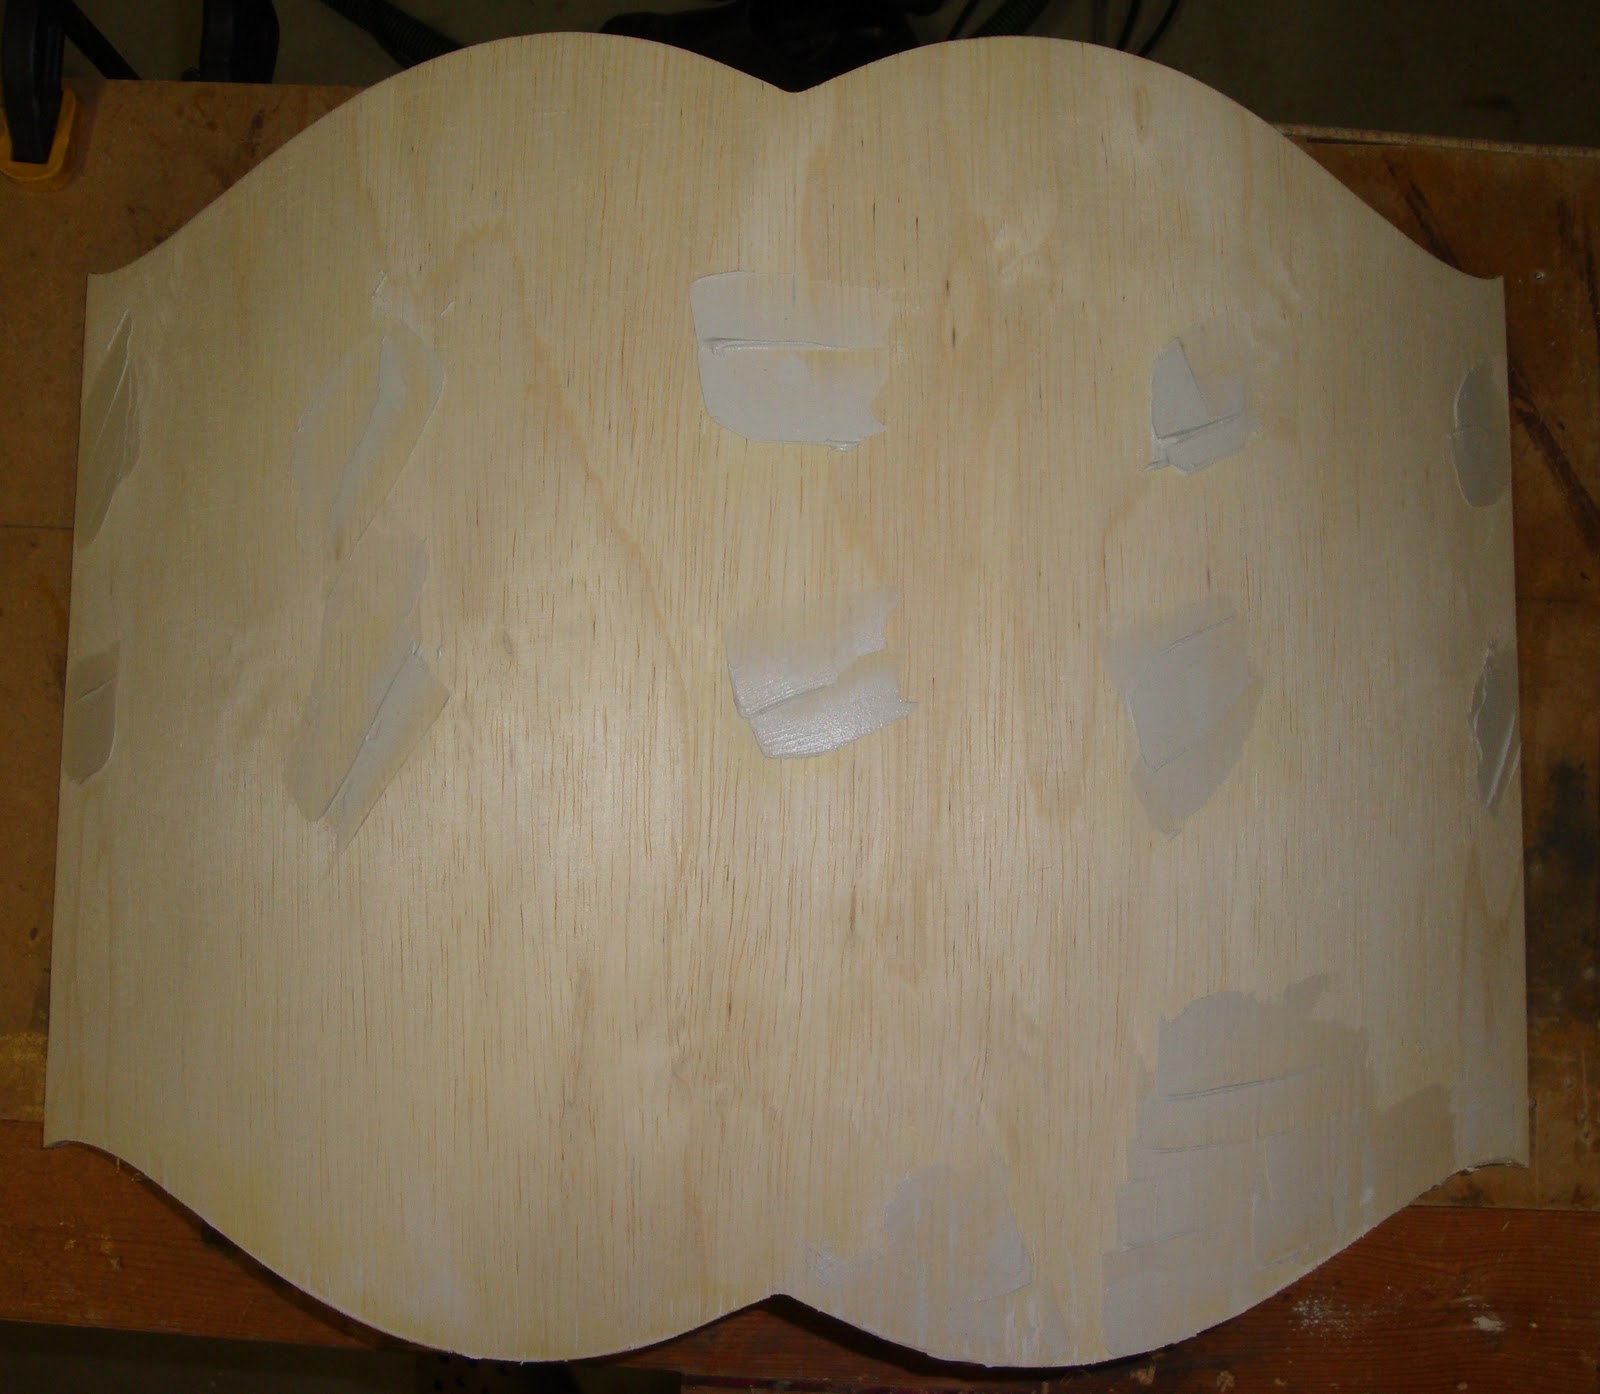
The sides look kinda plain, being all square and stuff. So, I quickly drew an ogee, you can barely see the pencil line on one of the sides.


I cut along the line on the band saw, leaving about a sixteenth to an eighth of an inch waste.


I only need to file and sand one side to the line because I will use that one as a template for all of the dividers and the other side. Filing, filing, filing...


Then I sand, sand and sand some more.  There's a lot of repetition in woodworking!


Now, I have a good side, so I clamp the template to the other side. Then using a flush trim bit on my router, I make an identical copy. (pretty cool, eh?)  I stacked all of the dividers together, and made one pass with my router, what a time saver.


Ok, so here are the dividers and the sides are attached to the bottom and back. I used butt joints, no need to get fancy with dovetails here, after all its just going to hold plastic lids!


I did do some fancy work, well not really, but it makes it look nicer and will keep the dividers in place. Just image, your wife getting hit by a divider? A plastic lid, ok, but a wood divider...ouch. Oh, by the way, that ouch isn't uttered from my wife, its from me after she hits me with said divider! Anyway, I got to use my 45 degree chamfer plane. It makes nice quarter inch chamfers every time. Below you can see I've made 2 or 3 passes, so far. It takes about 20 or so strokes but its still faster than setting up a router and clamping the piece down. 


As you can see, the chamfers look good, I did both sides. The inside had to be done so that the dividers can be removed and replaced. Look at those gossamer shavings, not bad for a $8 plane! 


The dividers are installed and I left one slightly ajar, so you can see how they slip in and out.


Ok, a better look...


And here it is, fully loaded and ready not to throw lids!  


Well, I hope you liked this project, makes for a good half days work but it may save you from flying lids too! 

Please feel free to leave comments or suggestions of what you would like see made next time!!

Wednesday, December 15, 2010

Comic relief...

Its been cold in these parts for the past week. The temps should be in the 45-55 range, today its 23 and its freezing! So, unless I absolutely need to cut wood, I'm staying where its warm!
But I do have some comic relief to ease the holiday pressure...


That's me at 2!... Ok, so its not really me but I'm sure it could be!

The temps should get back to normal in a few days, so watch for a new post!

Oh, one more thing, this is pretty cool, they lay down brick roads like carpet... BrickRoad

Monday, November 29, 2010

Curved Bed Crown


Hi again, if you missed my last post  Childs Bookcase w/Whismical Trim , be sure to check it out! You won't be sorry :)

Ok, this time around we're going to make a curved bed crown. The same frame is used for all of the crowns of this type. I usually make the frames ahead of time, this way all I need to do is cut and apply the face. I have many designs but this time I'm making a new design, so you get to see how I go about making the design and the templates. 


Luckily, I had the top and bottom frames cut already. Don't worry I'll show you how I made them. First, I cut the blanks from a sheet of 1/2 inch plywood, 21 x 5 (good thing I made notes on the jig, my memory isn't as good as it once was). Then I place the blank in the jig and trace the arch. I take that over to the band saw and cut the waste off about 1/16 to 1/8 from the line. Then I clamp it into the jig (using the hold downs shown in the picture below) and run it through the router equipped with a flush trim bit. As you see below the arch is pretty good! The best part, every blank comes out exactly the same!


Second, I have to cut the groove for the back. The trick here is to leave a  3/4 inch space for the french cleat to fit even with the top and bottom frames. After installing the dado cutters in the table saw, I use the actual cleat to space the fence properly. So, now when I run the frames along the fence, the space will be perfect for the cleat.


I clamped the frames together, so I can flatten the grooves with my router plane. (Kinda looks like a football next to each other.)


A quick check to see if everything is square. Center lines help enormously, always draw center lines! I use my table saw fence and a try square to make sure the frames are square. I also check how square the back is to the frames.


Ok, looking good so far... Its time to glue the frame to the back.


Drill a pilot hole with a counter bore bit before screwing the frame into the back. Also, make sure you drill the pilot hole as close to center as possible, for maximum strength. 


Before, (I emphasize this step because I forgot and had to remove one of the frames to perform this step), place one of the dowel support rods in position on one of the frames and mark the back with inside edge of the rod support.


I glued and screwed the bottom frame to the back after cutting out the waste. Ahh! Nice fit!


After squaring the top and bottom to the back, I take the measurement for the ribs. Looks like 5 1/16 inches. I cut three front ribs and 2 back ribs which have 45 degree bevels on one edge.


Here the ribs are dry fitted into position. Now you see why one edge of the back ribs are  beveled (must follow the curve of the frame).


The back is starting to shape up!


The basic frame is almost done... pretty cool, eh?!


The french cleat is installed here, the 45 degree cleat is used to hang off its counterpart. Oh, make sure its attached along the top frame...


The frame is done for now. I cannot attach the dowel support rods until I cut the face design because the length of the rods varies from face to face. Since this time around I'm designing a new face, I'll show you how I go about laying out the pattern and how I make the templates.

I thought I would try using Fibonacci's Golden Ratio, this ratio has been used to design buildings and furniture for hundreds of  years, lets see if it works... (warning math coming!)


Ok, so our face blank is 24 inches wide and 16 inches high. I make half patterns first, so 12 divided by 1.618 is 7.41 inches or 7 7/16 inches gives me the short section. This is marked by the left line in the pic below. This is the transition point. I'm going for an ogee (fancy name for an S curve).


I trace the ogee using the french curve.


Then I cut the pattern out with sissors, very carefully!


Then I trace the pattern onto a piece of 1/4 plywood, this is a template to make the final template. I like to have matching sides, so the best way to achieve this is to make a half template and use it for both sides. (Pretty tricky eh? Well not really)


I went ahead and cut out the pattern, looks good, but still a little rough along the edges. 


I use a fine file to smooth out the curves... man, will my thumb ever heal??


Now to make the final template, I traced it out and cut the waste leaving a little to be routed. 


I clamp the half template to the final template and route the waste. Then I flip the half template and route the other half of the final template, leaving me with a full template to layout and route the face! Cool or what?!


Ok, with the waste cut away, I wrap the corners with blue tape. This will prevent tear out when I router close to the edges.


Wow, pretty clean cut! (Blue tape, greatest thing since sliced bread!)


Hmm, what's that smell... I haven't smelled that since I built my bench from an old picnic table... Yikes!  On that last router cut, I cut too close to the bench! Well, I nipped the corner pretty good... note to self, there's a bench under there...


I position the frame on the face to find the final location in reference to the rod supports. The supports shouldn't show but should be close to the edge.


I use clamps to dry fit the face to the frame. Everything is looking square!


Its time to glue and screw the rod supports to the frame. I use a square to make sure they are square with the bottom frame.  


Time to attach the face to the frame. I start with one screw. I use my center lines and match them up. Then I drill a pilot hole and insert a screw.


I check my center lines, one on the top and one on the bottom, they should all match up.


I put a second screw and dry fit the face with clamps. If it all lines up, I put the rest of the screws in...


Here it is, in the rough, the curve looks even and everything looks square! Wahoo!


Now onto finishing the dowel supports. I cut the blanks and positioned them in place.


I cut the hole and the slot.


I mark the length of the 5/8 inch dowel and cut it to size on the band saw.


Good fit! It should just clear the round hole with the opposite end as far into the slot as possible.


Always good to test it tho... Ahh, that's not falling out.


I put a screw in each after I glue and brad nail them into place... there's no way that dowel is falling! Over engineering never hurts!


I sand all the edges by hand and fill the screw holes with joint compound. Yep, joint compound, same stuff they use to cover the drywall screws in your walls! Bondo (stuff they use on car body repairs) would work too, but even I think that would be a bit much!


I also put a layer of joint compound along the edge to strengthen it up a bit. Most of the compound you see in this photo will be cleaned up with my Festool sander. Which is great for this because the dust extractor removes all of the dust. We all know what kind of mess you get when sanding joint compound. (cough, cough)


Here it is after the first sanding. First sanding? You say. Yep, I need to apply a second coat of joint compound and let that dry.


Now for the second coat of joint compound, just like the drywallers do!


Its starting to look good! Next is primer and paint. Here's what a coat of primer looks like...


After a coat of primer and two coats of paint, its looking pretty good!


I hope you liked this post, remember feel free to leave comments, suggestions or anything else!

So what do you think? Is there any truth to Fibonacci's golden ratio?


eXTReMe Tracker