
I'm going to start this project stream in the middle, sort of like Star Wars, then I'll post the first steps.
Ok, the crown is ready for shaping, after planing and sanding the front of this crown will be a smooth curve. (And much easier on the eyes!)

But first, the supports for the dowels have to be cut and installed. Looking up from the bottom left corner, I measure the distance from the back to the curved face. This is the only measurement I need since the supports are the same shape as the sides. Don't worry, you'll see what I mean... Hmm, looks like 1 5/16.

Here's the left support, its the same size as the side, I cut the sides and the supports at the same time to save time, so its not going to sit flush to the bottom due to the curve of the face. This is where the 1 5/16 comes into play.

I need to cut the supports so that the bottom is 1 5/16 inches.

But WAIT! Don't forget there's a bevel. Its real easy to cut the piece to small! Flip that part over, then measure! Now you can see how the piece would have been to small. I cut these on my table saw using a sled.

After making the cut, I dry fit it in place. As you can see, or maybe not, but believe me there's a little overhang. I mark that with a pencil and cut off the extra. This also assures the support will match the side.
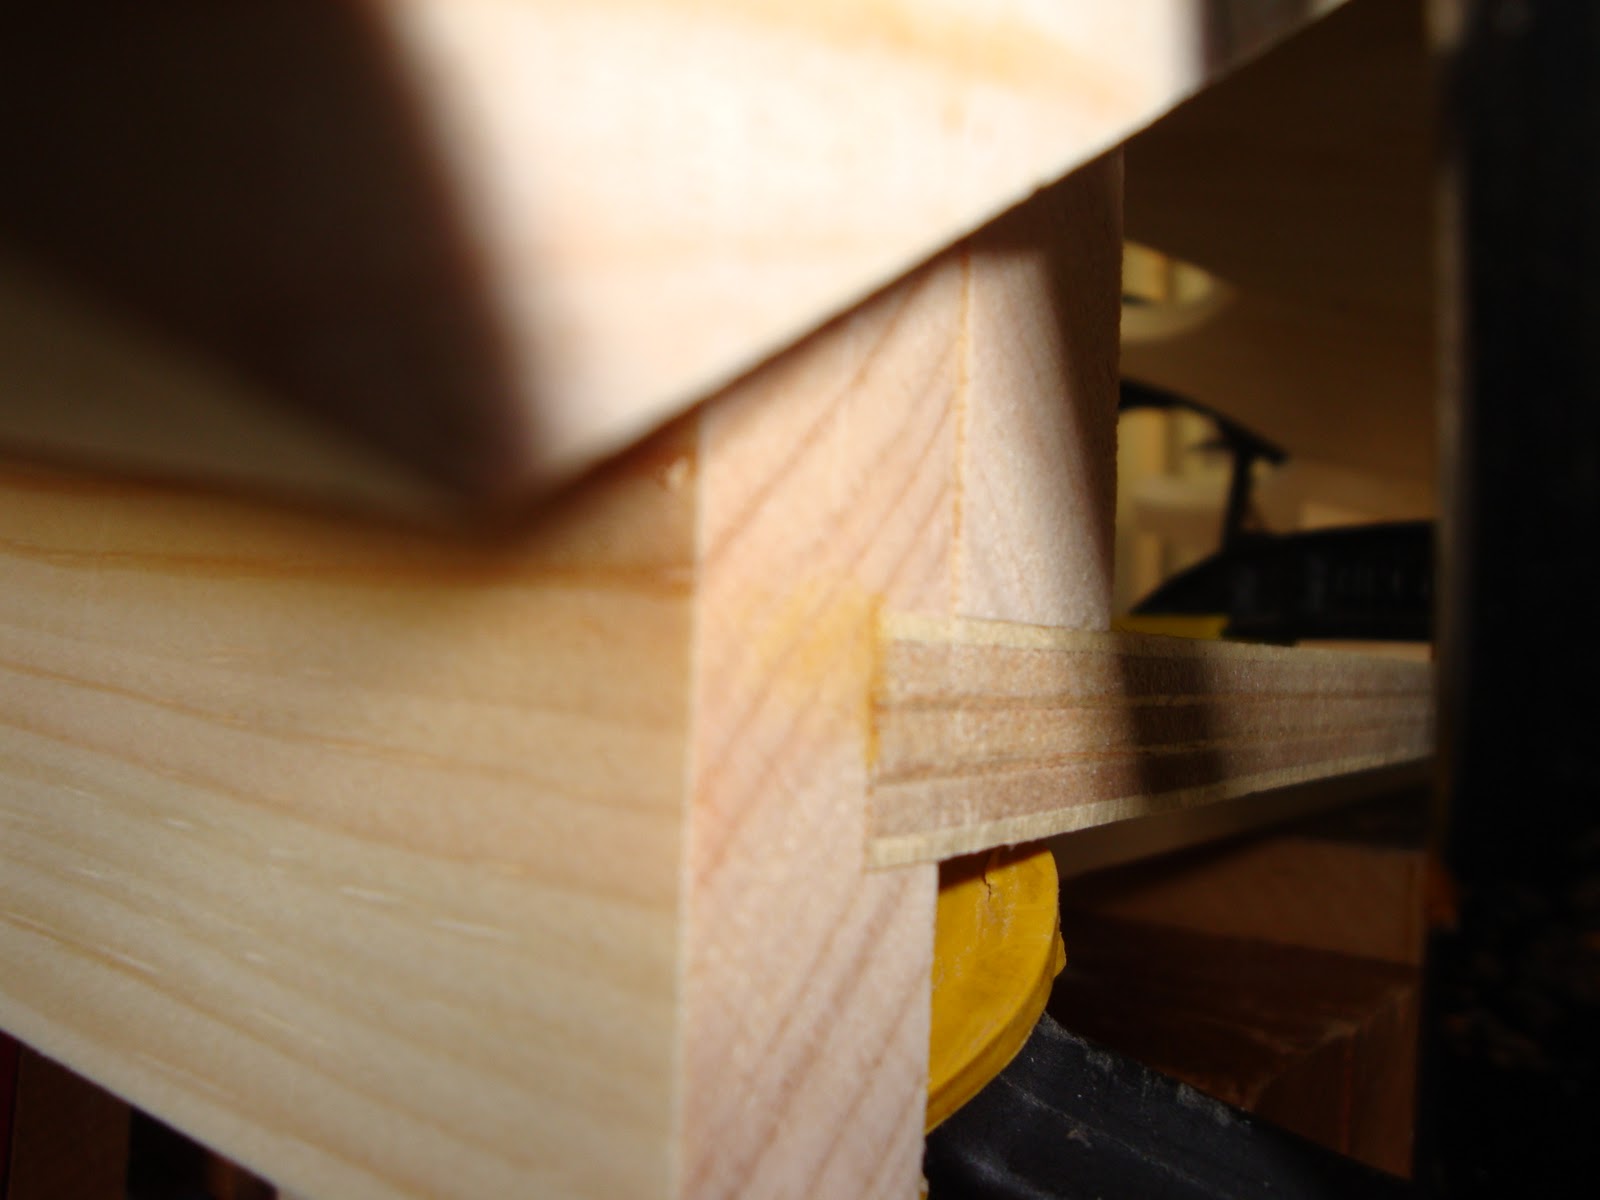
Ahhh, now that's a nice fit! I repeat the same procedure for the right support.

Ok, the supports are not quite supports yet... they need holes for the dowels! I use a forester bit on a drill dress to drill the holes. The trick for a clean hole on both sides is to set the depth of the bit so that the point of the bit just cuts through the opposite side. Stop drilling and flip the piece, there's a nice small hole to line up the bit! Line it up and drill out the small amount of wood left from the first cut.


This crown has two dowels, so it requires a center support. By hand, I use a counter bore bit to make the pilot holes. Oh, and yes, I hit my thumb with something... seems like my thumb always looks like that.

Then I glue and screw the center support to the face. (Long grain to long grain.)

On the back I install a french cleat which is used to hang the crown. A french cleat is basically a piece of wood cut anywhere between 30-45 degree angle. One piece is glued and screwed to the back. The other piece is mounted to the wall. Then all you do is hang the crown from the cleat. Pretty cool eh?

Now its time to smooth out the face. This step takes a little time but if you have a sharp iron its not so bad. Notice I skew the plane and make steady strokes with pressure on the front of the plane. The shaving are small at first then they grow as you remove more wood to make the rough curve.

This is what you start with... (and yes, those are Monet's on the wall--wish they were real ;))

After planing it starts to look like this...

It needs a few more strokes then on to the other four... man, my arm is getting tired just thinking about it. But I guess you can call planing, woodworker aerobics.
That's it for now... I will post again early next week and we'll finish this bed crown!
Please leave feedback in the comments section. I will read everyone and answer all of them!
No comments:
Post a Comment